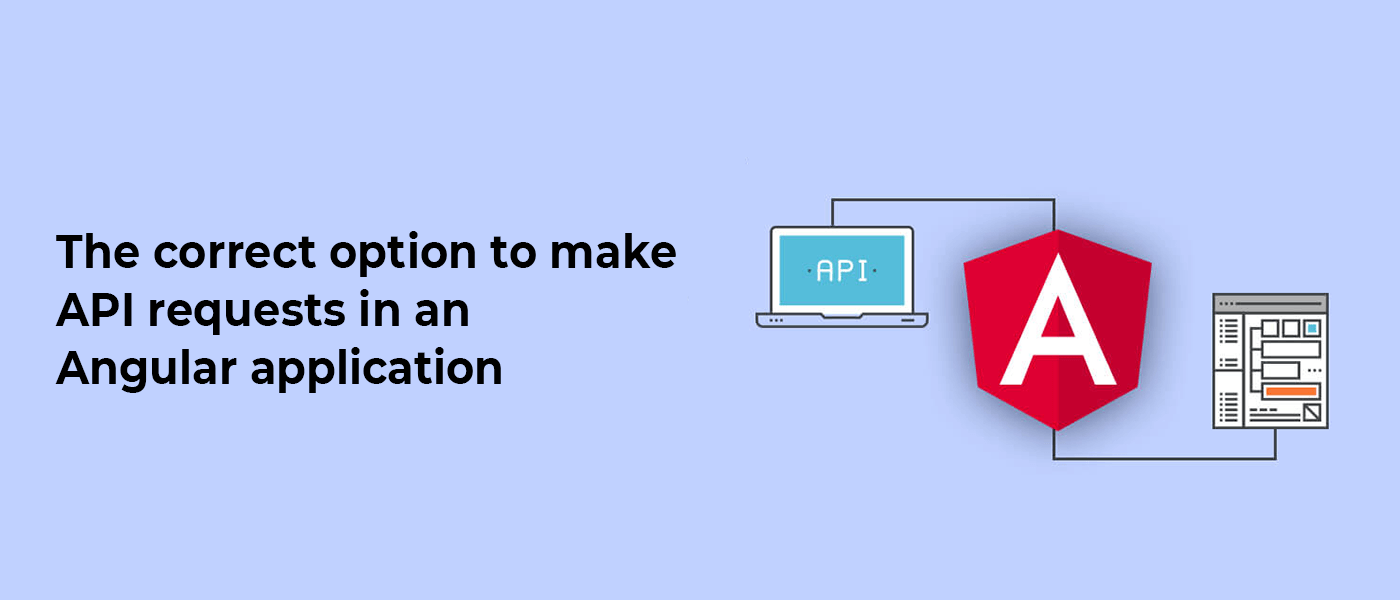
Now in the present article, we will be coming up with the options for Angular Application. We will offer all the best options for the same. For the request decoration, this is one important matter now. There are several methods that are now. Let us have a look at the best of the whole process now.
You must be a verified user. To make API requests, You can authenticate API requests using basic authentication with your email address and password, with your email address and an API token, or with an OAuth access token.
All authentication methods define the authorization header differently. The identifiers sent in the load (body) or the URL are not processed.
If you are using basic authentication, you can combine your email address and password to generate the authorization header.
The email address/password combination must be a Base64 encoded string.
Request Decoration with the interceptor now
At the time of working with the APIs, the use of the HTTP interception is a significant matter. When you are witnessing the interceptions, then you will have to declare interceptors that make the transformation and inspection of the HTTP request sources from the application that you have towards the service as well as from the server response when they are returning to the application.
In Simple words:
When it comes to the actual work, then post user login each of the singular API gets sent towards the requirement of the backend for adding the Authorization in header section for verifying the user authorization and authentication.
The First Example
You can make use of an interceptor for adding one JWT to this request. For that, you can use the interceptor for adding the JWT to the application from the state.
The Second Example:
Here we can witness the use of the interceptor for controlling one spinner in the process of application. That is done with the use of the interceptor that controls the spinner.
The Third Example:
For cache, one request the interceptor is used here.
But this is not all. There are great many other things that you can do with the use of the interceptor request, such as
Displaying one modal when the API fails.
Adding more logics based on the status codes post response
Overwritingone request body or request URL
Through the interceptor, all your requests will be affected. In that case, you will need to think about what would be your strategy in requesting and disabling the interceptor when in Angular. Let us talk about that now.
HttpClient vs HttpBackend
We have experiences that some developers make use of the HttpClient only when working in Angular projects, especially each time they have the requirement of sending one request in the backend. This is the wrong thing to do.
The reason?
This process is wrong as such sent requests that are done by the Http Client is always channeled through the Angular interceptor. For fixing that, some of the developers' writers further codes for handling the work of disabling the interceptor through the cheating codes. On the other hand, some developers consider it right to stop using the interceptor and add one header to each of the requests that they make.
The code has to be, actually, filled with the code smells as well as the tech debt. The developers need to work further with the use of any of the processes, as mentioned earlier.
In case you are going through this article, be sure that you are on the right track to fix this problem.
The best solution would be to use Http Backend and Http Client, both when sending a request.
Here the only thing that will strike you as different is direct dispatching of the requests by the Http Backend directly towards the backend. That is done without being linked to the interceptor chain.
A Sample for you for Http Service:
You need to sample the Http service with the use of http backend and http client both.
Also, you will have to make the decision regarding which one works on the interceptor and which one misses the mark.
There are some certain APIs which require a number of headers or make the addition of the other information. There you can try manual customization with the use of the Http backend.
A number of methods other than this one are also there.
There are times of small usage cases when you are not in a position to have it with the application.
Post Failing How to Call the API
When it happens, then you can try again the failed request as much as three times.
You can then use the retry() for adding a time amount for trying the requests if it fails.
What is the process of catching the error?
According to the experts' suggestion, you can use the interceptor at the method next() for catching the error.
What the Way Out for the Prevention of the XRFT Attacks?
At the time of performing the HTTP requests, a token is read by the interceptor from one cookie, through the default XSRF-TOKEN. It then sets that as the HTTP header, XSRF-TOKEN. In this case, the code in your domain has the option of reading the cookie. Therefore, the backend can be sure that the source of the HTTP request is the client application that you have, not caused by the attacker.
In case different names are used by the backend service that you have, for the header or the XSRF token cookie, then you will have the option to use Http ClientXsrfModule.withOptions() for overriding purpose.
Conclusion
Therefore, from this article, you will be having all the information regarding your work collaboration with APIs from the Angular Applications. This includes:
The use of the interceptor for managing the responses and the requests
The methods to use the Http backend and Http Client
The option to recall one request in a case has failed to catch a particular error or to prevent the use of XSRF attacks.